Showing posts with label French Country house. Show all posts

Sunday, September 27, 2015

The Bedroom Tour


The chandelier and mirrors add such a romantic feel to this room. But the room really came alive when the flowers were put on the mantel. Yep, that's my wedding picture there.


The built-ins in this room is what makes it so interesting.


That little vanity was the crowning touch to this room. The little perfume bottles are made out of beads.


I put some little coat hangers in the shallow closet. If I had been thinking ahead, I could have put pull out drawers under the closet and bookcase.


The inside is done.


The outside is done. I'm calling this project DONE and DONE!!! (I can always go back and re-visit and update!)

Friday, September 25, 2015

The Child's Room Tour


The most challenging thing in this room for me was going to be the carriage and the doll. I found and bought a wire carriage that I loved, but making the tiny doll was a miniature project all in itself.


I loved the child's bed. For me it was magical the way the wire frame looked. I never would have thought of using florist's wire for dollhouse furniture. I've learned so much from this book.


Little touches like books, toys and pictures on the wall make the room complete.


I loved everything about this room too... let's face it - I loved this whole house so much that I wanted to make my own!


Tuesday, September 22, 2015

The Living Room Tour


There was so much furniture to make for this room that it felt like the focal point of the whole house. I love everything about this room so I tried to stick pretty close to the book on making it. Except I thought my drape fabric was a little bright and I could have put the pelmet up higher, added a few more pictures, accent pillows, etc. All these things can be done later.


The flowers and pictures really give the room some life. I also added some books.


Sunday, September 20, 2015

The Landing Hall


The upstairs landing is an interesting part of the house. It's not easily accessible except through the bathroom door and the living room french doors.


I put a chair and some picture frames in the hall.


There is a little landing between floors. You can see the light coming from the third floor nursery.


This stairway was probably the most challenging thing about this whole house. It's also the most interesting architecture of the house. Most doll houses don't have an elaborate staircase like this one.

I wish it were a little more accessible so I could play more with that area of the house. It's hard to get my cell phone in there to get a good picture!

Friday, September 18, 2015

The Bathroom Tour


I was in love with this bathroom from the start. I decided to make my own fixtures out of paper clay.


Love the little toilet paper roll. It was fun to make with wire, cardboard and paper towel strip.


I made the little bars of soap out of polymer clay instead of real soap. I want to make a wire soap holder for the tub later and a better shower curtain.


Wednesday, September 16, 2015

The Kitchen Tour


The metal heat deflector over the stove was fun to make and it adds an old world charm to the kitchen. (I'll have to work on my dish cloths, they didn't want to lay flat with hairspray.)


I did make a rug for the kitchen. I printed one out on real canvas on my printer and added fringe to each end.


The hutch looks a little modern for this room but I wanted one that displayed my dishes. I made the dishes and cups myself. The food items were bought off ebay.


You can see the mirrored panel I made on the buffet. Since directions weren't given for the one in the book, I didn't want to copy that one exactly but I wanted another mirrored object in the room.


I love the sink and the little drain board. I might paint the pipes silver because they are hard to see.


Monday, September 14, 2015

The Grand Tour Starts In the Entry Hall


The hallway is absent of a lot of furniture but it's simply beautiful the way it is. I added a little umbrella stand and some flowers to the table.


If needed, you could store something under the stairs. A baby carriage or coat rack would fit nicely.


The flowers and the flower pot are made from polymer clay. The flowers are glued to some plastic greenery with moss as a filler.


A few little floral pictures on the walls make the entry hall complete.


Friday, September 11, 2015

Detailing the Exterior


I decided to lighten the colors of the exterior just a shade and I like it much better. The first thing I did to the roof was to variegate the color for a rain runoff, weathered look. I dry brushed on a lighter color blue and added a silver wash to make it look weather beaten.


I needed to add a base to the house so I could keep the steps from getting torn off when I turned it around so I used plywood sub-flooring and added a little chunky wooden "concrete" wall to it so my house could set into the base but still be lifted off for getting to the wiring if needed. I glued the steps to the base instead of the house.


I will probably have to cut a hole in the side of the base to reach the light switch with my finger so the house won't have to be tipped to turn on the lights. I can do that.


The next thing I did was to put down some brick and stone (cardboard) walks with grout, add moss sheets for grass and a little moss between the bricks, then I started thinking about bushes, flowers and vines. I have to remember not to glue anything to the base AND the sides of the house together. I will have to make the vines on the house just look like they are growing out of the ground.


So I got my greenery cut and made some bushes and climbers for the outside of the house.


I used a hot glue gun to fasten the greenery to the base and the walls. I hate hot glue guns... I always get burned. Now I have a blister under my thumb.    :(  I guess I need a glue gun safety class.


I wanted to add little surprise touches to the house. I want to add a light to the porch, maybe a mailbox and some house numbers... I thought of a little bird nest and some birds near the chimney and... it may be the project that never ends but I want to eventually put plexi-glass walls on the back to keep the dust out so it can be displayed. I could make them sliding into a frame instead of hinged... you see how this can be dragged out.


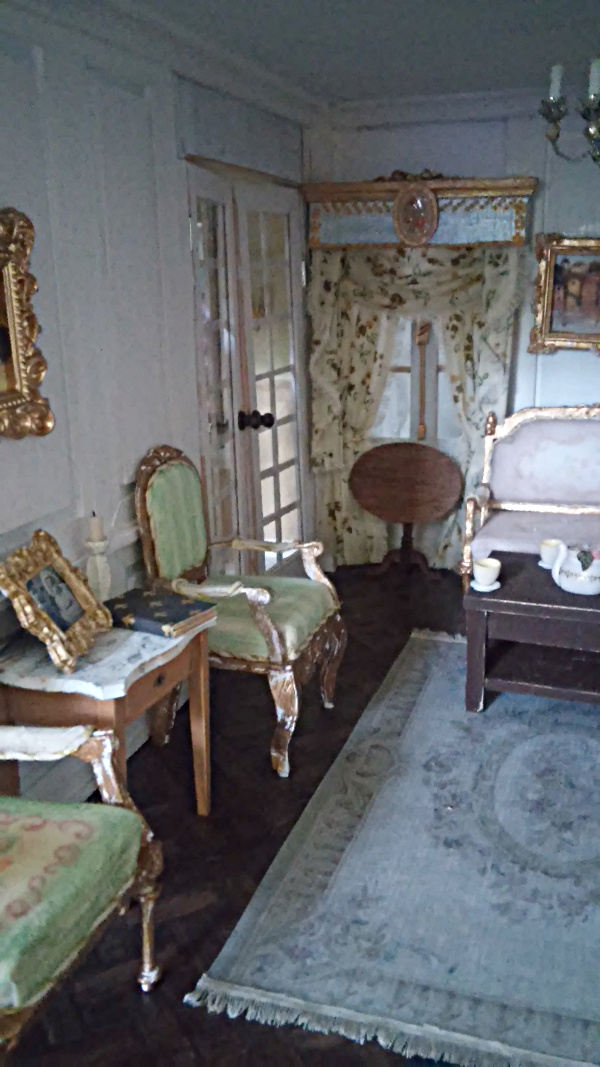
To make a stopping point to my project, I'm going to do a grand tour of the house while I get started on another project. So - tour coming up!