AKA "Canned Ham". I love these little retro camping trailers. I am still working on my stump off and on but I just got it into my head to make one of these. I've been looking at pictures of real campers and although I've never owned one for real, I think they are so cute. I had to make one. I couldn't stop just long enough to take a few pictures. I was obsessed.

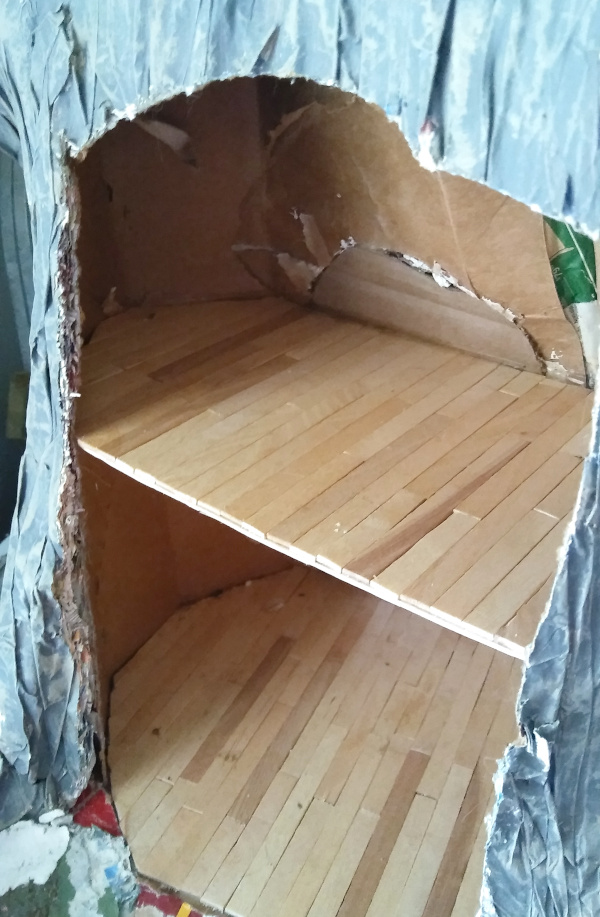
So first I cut out from my never ending cardboard supply, a shape I just drew freehand. Usually I'm a stickler for the 1" scale but not so much with this one. I just kind of guesstimated it. It was fine. I put down a popsicle stick floor and made a soft wood frame for the shell. I did move my door over more to the left later to make more room for my little sink/burner cabinet.
I made the wheels out of a wooden dowel and layers of corrugated cardboard circles. I glued the circles together and filled the sides with white glue. When it dried, it looked like tire treads. I cut my sidewalls out of poster board and made my hub caps out of posterboard covered with aluminum duct tape. I shaped them with a ball tool.

I used soft hobby wood sticks for the undercarriage. You can see my cardboard taped with masking tape. I used a hot glue gun to glue most things on.
That's the start to my little project. I was inspired by the Sam's Club Christmas decorations I saw online. I am not a member. They had a pickup truck, a VW bus and a camper all decorated with lights for sale this year. I think they are all sold out now though.
So I thought they were so cute, I just had to make my own little camper. I will probably put lights on mine too. There looks like plenty of room for a battery pack under there.

So first I cut out from my never ending cardboard supply, a shape I just drew freehand. Usually I'm a stickler for the 1" scale but not so much with this one. I just kind of guesstimated it. It was fine. I put down a popsicle stick floor and made a soft wood frame for the shell. I did move my door over more to the left later to make more room for my little sink/burner cabinet.
I made the wheels out of a wooden dowel and layers of corrugated cardboard circles. I glued the circles together and filled the sides with white glue. When it dried, it looked like tire treads. I cut my sidewalls out of poster board and made my hub caps out of posterboard covered with aluminum duct tape. I shaped them with a ball tool.

I used soft hobby wood sticks for the undercarriage. You can see my cardboard taped with masking tape. I used a hot glue gun to glue most things on.
That's the start to my little project. I was inspired by the Sam's Club Christmas decorations I saw online. I am not a member. They had a pickup truck, a VW bus and a camper all decorated with lights for sale this year. I think they are all sold out now though.
So I thought they were so cute, I just had to make my own little camper. I will probably put lights on mine too. There looks like plenty of room for a battery pack under there.